DIY survival kits: crafting custom solutions for unique needs
Learn how to create personalized DIY survival kits tailored to your specific needs, ensuring you're ready for any situation.
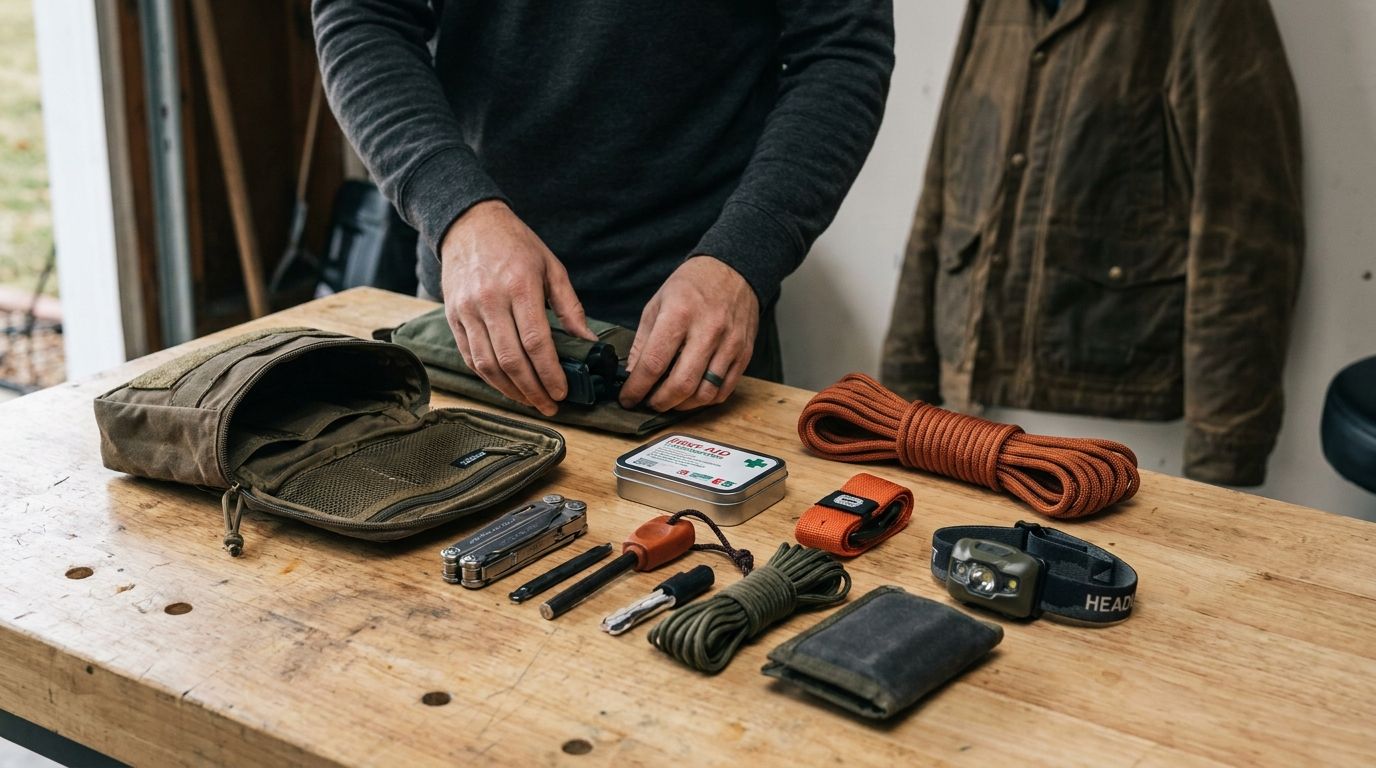
It's a Saturday morning. You've just poured a steaming cup of coffee, and the sun is cutting across your kitchen table, lighting up the half-finished projects and scattered gear you keep meaning to sort out. You glance at your makeshift survival kit: mismatched items, some useful, some expired, none of it organized the way it should be. Time to fix that.
A well-built survival kit tailored to your actual situation is worth ten generic ones pulled off a shelf. Power outage, flood, wildfire evacuation - your kit should reflect the specific threats you face and the people counting on you. Here's how to build one that actually holds up.
Understanding the basics of DIY survival kits
Before you start pulling gear together, get clear on what a solid kit needs to cover. The contents depend on your circumstances, your location, and the people in your household. Someone in a hurricane corridor has different priorities than someone bracing for a Rocky Mountain blizzard.
That said, most good kits organize around the same core categories:
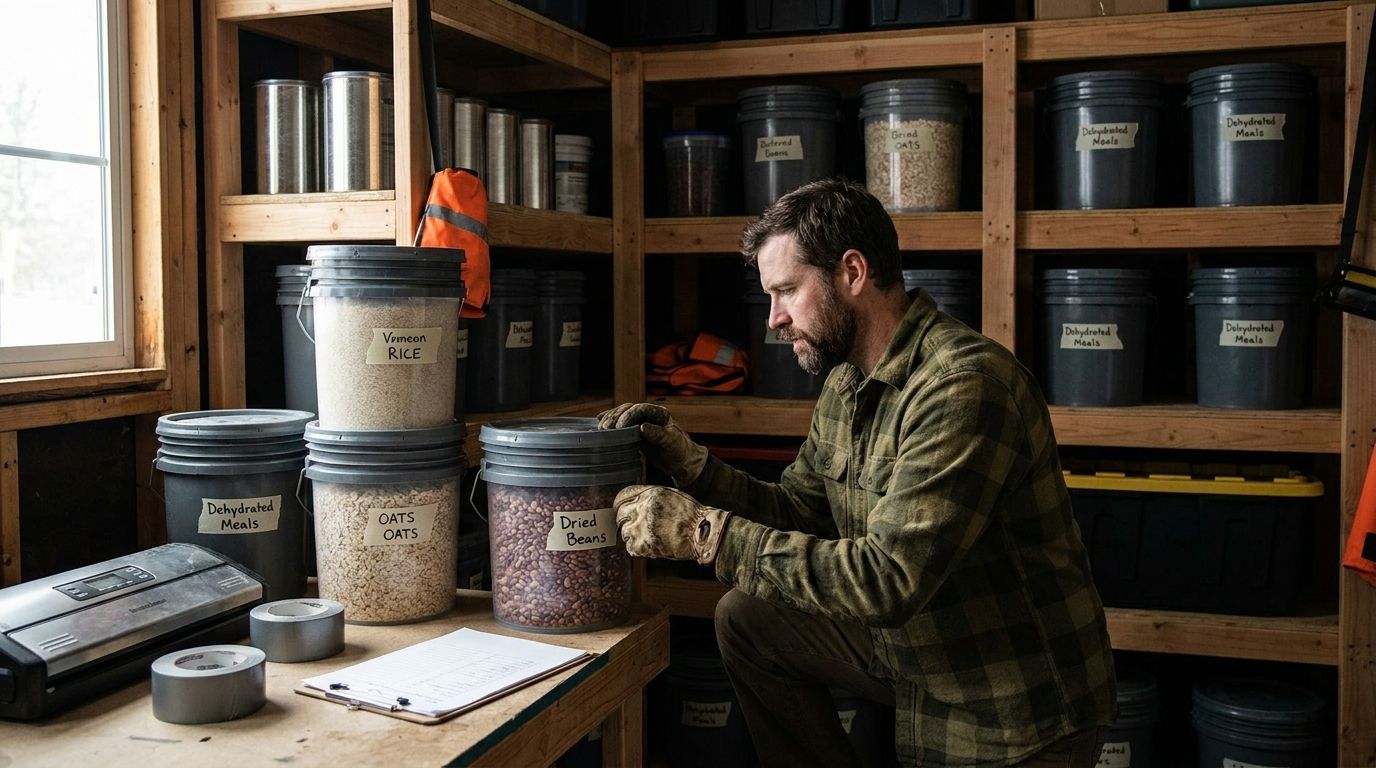
- Food and water: Non-perishable food items and enough water for at least three days.
- Medical supplies: First aid kit, prescription medications, and personal hygiene items.
- Tools and equipment: Flashlights, batteries, multi-tools, and a portable stove.
- Clothing and shelter: Warm clothing, blankets, and emergency space blankets.
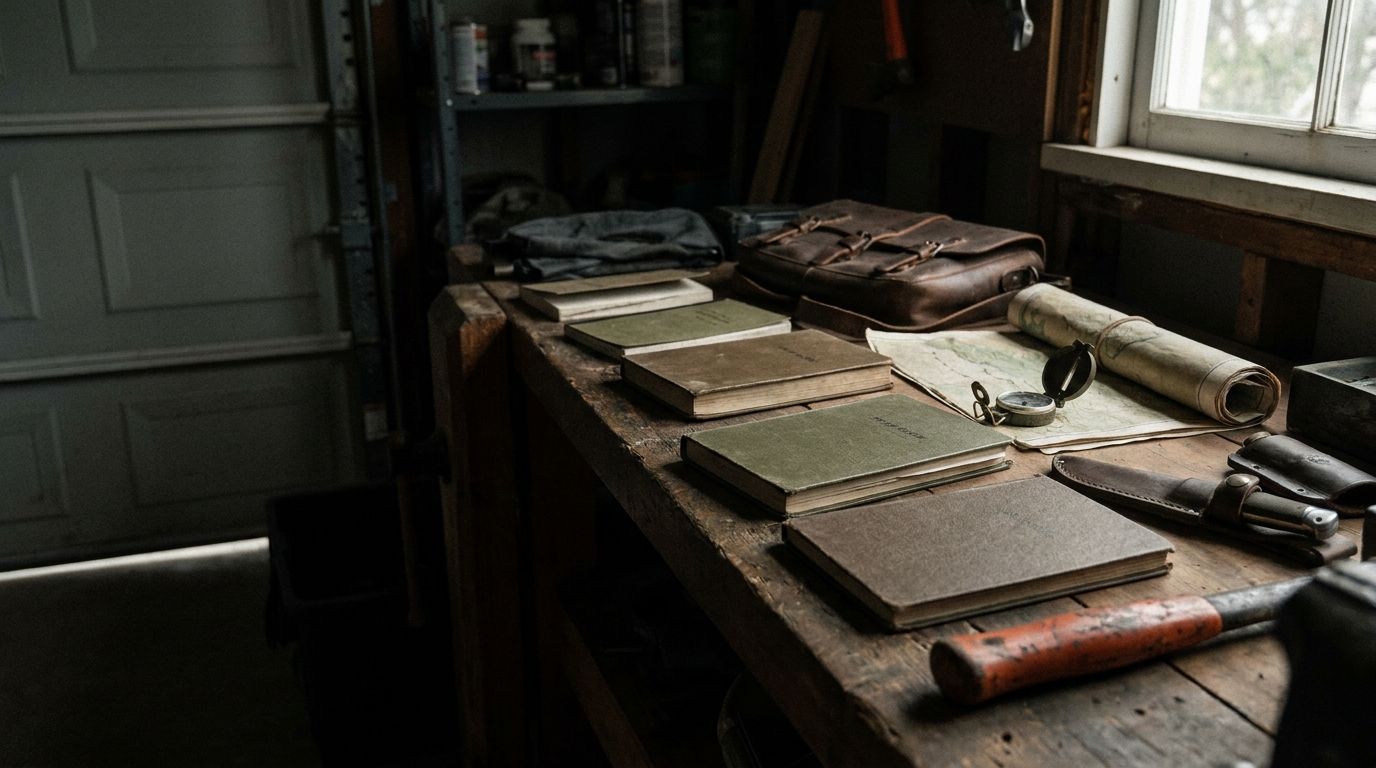
- Important documents: Copies of identification, insurance policies, and emergency contact information.
Families with young kids might want to tuck in a few comfort items. Pet owners need to account for their animals too. The whole point is building something that fits your situation, not someone else's.
Assessing your unique needs
Start with an honest look at your risks. Where do you live, and what does your environment actually throw at you? What does your household look like?
- Identify potential risks: What natural disasters or emergencies are common in your area? For example, if you live in California, wildfires and earthquakes may be a concern. If you're in the Midwest, tornadoes might be on your radar.
- Consider your family dynamics: Do you have young children, elderly family members, or pets? Each of these groups has distinct needs that should be addressed in your kit.
- Evaluate your lifestyle: Are you an avid hiker or camper? If so, you might want to include outdoor gear and additional food supplies.
Answer those questions honestly and you'll have a working outline for your custom kit. Skip them and you'll end up with a bin full of stuff that doesn't quite fit anyone's actual life.
Selecting the right container
The container matters more than most people think. Durable, portable, easy to grab fast. Here are your main options:
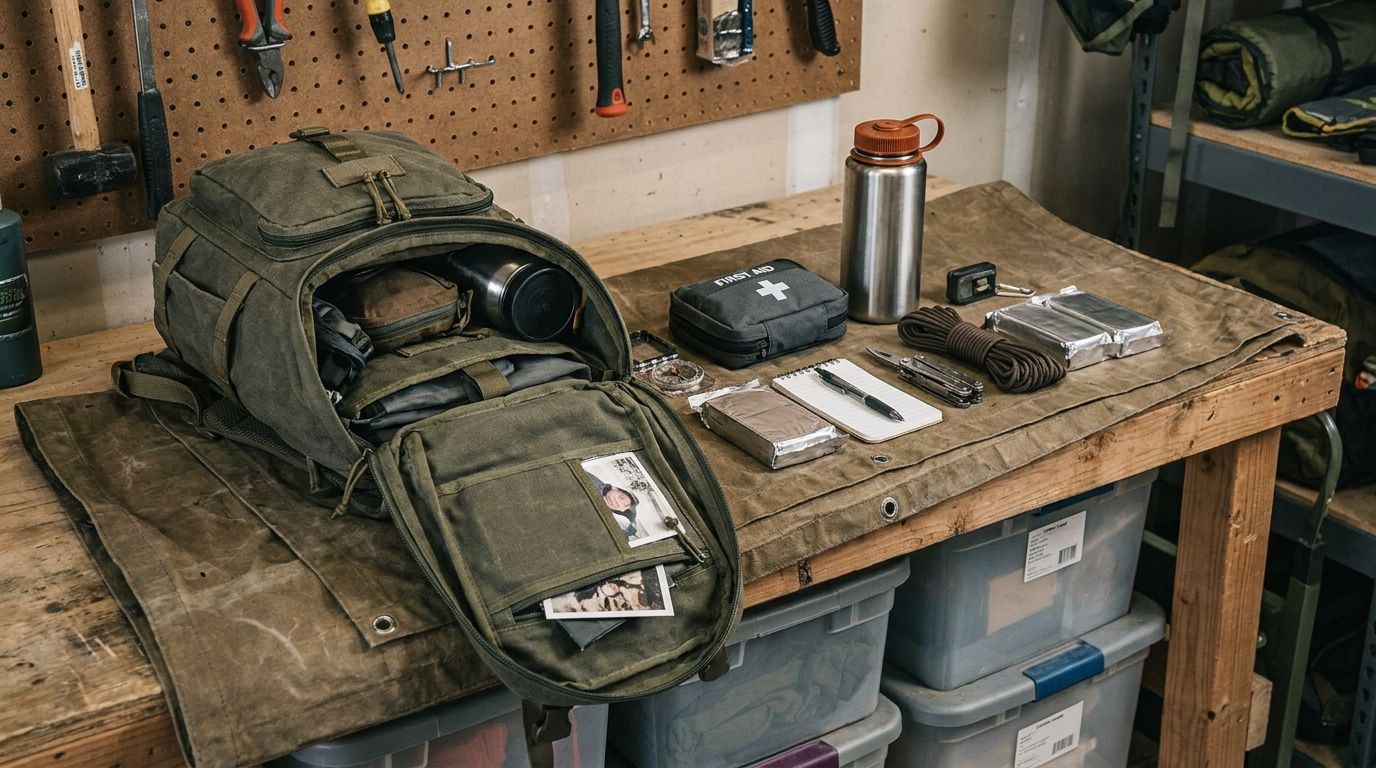
- Backpacks: An excellent choice for those who may need to carry their kit on foot. Look for water-resistant materials and multiple compartments for organization.
- Plastic bins: Sturdy bins with tight-fitting lids can protect your supplies from moisture and pests. Label each bin for quick identification.
- Tactical bags: These bags are designed for rugged use and often include multiple pockets, making organization easy. Plus, they're built to withstand the elements.
Think about where the kit lives and how fast you might need to grab it. A backpack makes sense if you travel a lot or need a bug-out option. A labeled plastic bin works well for a stationary home setup where you've got more space to work with.
Essential items for your DIY survival kit
Once the container is sorted, fill it with purpose. Here's what to prioritize:
- Food and water: Aim for at least 72 hours of food and water. Non-perishable items like energy bars, dried fruits, and canned goods are excellent choices. Don't forget to pack a portable water filter or purification tablets.
- First aid supplies: Include a comprehensive first aid kit, as well as any prescription medications. You can buy a pre-made kit or create your own by including bandages, antiseptic wipes, and pain relievers.
- Tools: A multi-tool or knife, a flashlight with extra batteries, and a firestarter can be invaluable. You might also want to include a portable stove or cooking supplies, depending on your needs.
- Shelter: Emergency space blankets are lightweight and can help retain body heat. You might also consider packing a small tarp or emergency tent.
- Personal items: Don't forget important documents like identification, medical records, and insurance information.
Scenario: Sam's unique needs in a rural setting
Take Sam Wills. He lives in a rural area that floods regularly, so heavy rains mean road closures and multi-day power outages, sometimes both at once. His kit reflects that reality:
- Non-perishable food items that can last up to a week, such as canned beans and dried fruits.
- A water purification system that allows him to source water from nearby rivers.
- A portable solar charger to keep his devices powered during outages.
- An emergency tent and sleeping bags to stay warm and dry if he needs to evacuate.
No wasted space. No generic grab-bag. Every item earns its spot.
Personalizing your survival kit
A personalized kit is one you'll actually use. Generic kits sit in closets. Here's how to make yours stick:
- Include comfort items: In stressful situations, familiar items can provide comfort. Pack a favorite book, a family photo, or a small toy for your child.
- Tailor to your skills: If you're handy with tools, consider including additional gear for repairs or self-defense.
- Update regularly: Regularly check and update your kit to ensure all items are fresh and relevant. Set a reminder every six months to review your supplies.
Six months goes faster than you'd think, by the way. Put it on the calendar now.
Testing your kit and readiness
Building the kit is step one. Knowing it works is step two. Don't skip it.
- Simulate emergencies: Conduct practice runs where you and your family respond to a mock emergency. This helps everyone understand the contents of the kit and how to use them.
- Check expiration dates: Regularly inspect food and medical supplies for expiration dates. Replace items as necessary.
- Evaluate your plan: After testing, assess what worked and what didn't. Adjust your kit or your plan accordingly.
Scenario: A weekend camping trip
Say you're heading out for a weekend camping trip with friends. You run through your kit the night before and find the flashlight batteries are dead and the first aid kit is out of adhesive bandages. Caught it at the kitchen table instead of in the field. That's the whole point of testing.
FAQ
What should I include in a DIY survival kit?
Include non-perishable food, water, first aid supplies, tools, clothing, and important documents. Tailor these items to your specific needs and risks.
How often should I check my survival kit?
You should check your survival kit every six months. This ensures all supplies are up-to-date and relevant to your current needs.
Can I create a survival kit for my pets?
Yes, include food, water, medications, and comfort items for your pets. Tailor the kit to their specific needs, just as you would for family members.
How do I choose a container for my survival kit?
Choose a durable, portable container that suits your storage space and how often you'll need to access it. Consider backpacks, plastic bins, or tactical bags.
How do I personalize my survival kit?
Add comfort items, tailor supplies to your skills, and regularly update the kit to ensure it meets your unique needs.
Building a DIY survival kit doesn't have to be complicated. Start with an honest assessment of your risks, pick the right container, and fill it with gear that actually matches your life. Test it. Update it. And don't let six months go by without cracking it open. The work you put in now is what makes the difference when things go sideways.

Want this handled automatically? See the Mainstay membership.
Subscribe to comment
Join the Mainstay newsletter to leave a comment — and get new field notes in your inbox.
Get new field notes in your inbox
Practical, calm preparedness — one useful note at a time.