Rugged first aid organization: build a first aid inventory you can audit in 10 minutes
A first aid kit is only useful if you know what is inside and what needs replacing. Build a first aid inventory you can audit in 10 minutes.
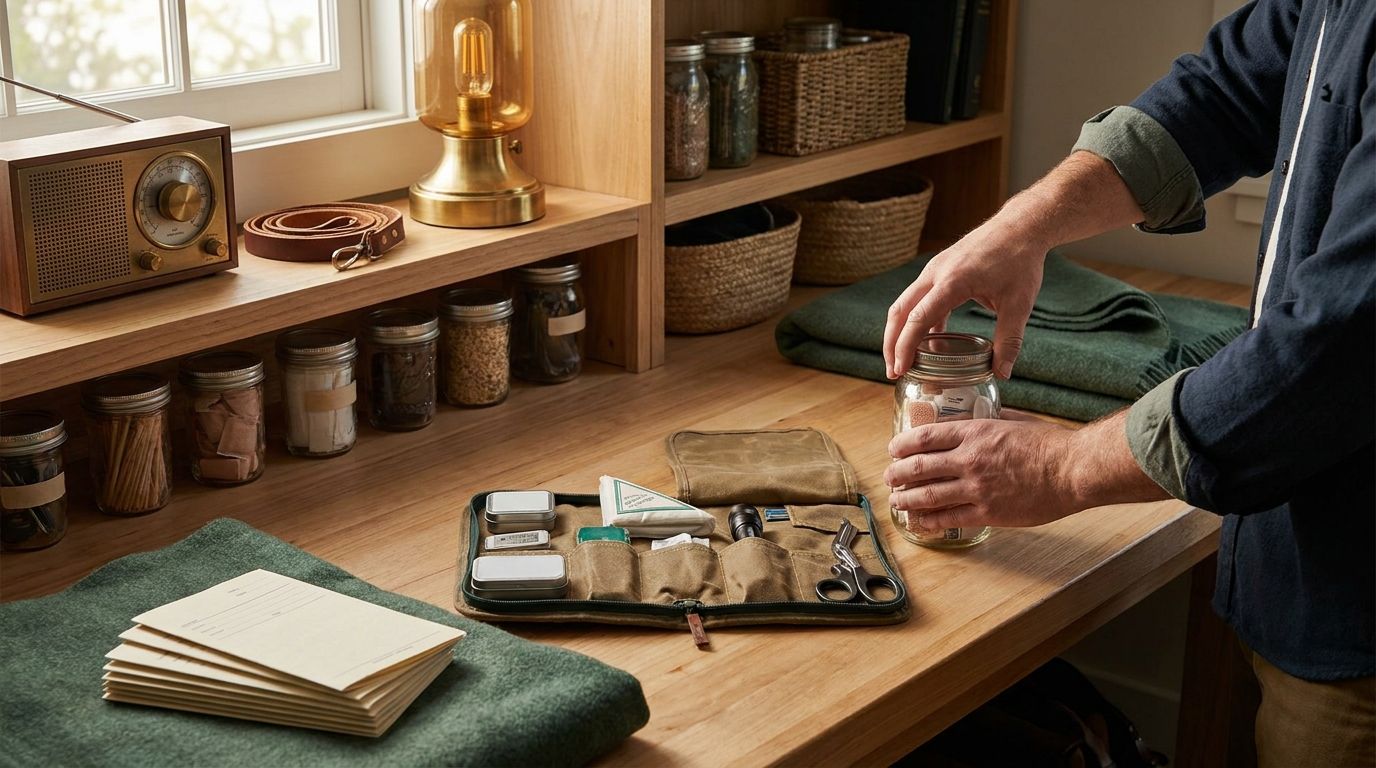
You open the hall closet on a Tuesday night, grab the first aid kit, and realize you have no idea when half those supplies were packed. That 10-minute audit you keep meaning to do? It starts now, with a first aid inventory you can check fast and actually use when emergency health shows up.
A clear, audit-friendly first aid inventory is the difference between "we should be ready" and being ready. You list what you have, track expiration dates in plain language, and set replenishment triggers so your first aid kit stays functional instead of decorative.
With Mainstay's adaptive learning system, you build the inventory once, then run quick checks that match real life. Not perfect life. Just the life where you are busy and still responsible.
Start with one first aid kit, not five
Pick one location and one container to organize first. That might be the kitchen drawer you always reach for, the car trunk kit, or the pack you throw in the back seat. If you try to organize every bag and every box at once, you end up with a pile of labels and no system.
Name the kit in your notes. Something like "Kitchen first aid kit (drawer by stove)" or "Car first aid kit (trunk organizer)." Then decide what "inventory" means for that kit. Most people overbuild. You do not need a medical textbook, you need a list of items you can count and a way to spot what is expired.
Here is the rule that makes this work: you inventory what you can verify in under 10 minutes. Open the kit, see the items, note quantities, no unpacking every bandage one by one.
Use three categories while you build the first aid inventory:
- Consumables: gauze pads, antibiotic ointment, sterile wipes, adhesive bandages
- Time-based items: medications and anything with expiration dates
- Tools and supplies that last: scissors, tweezers, thermometer, gloves
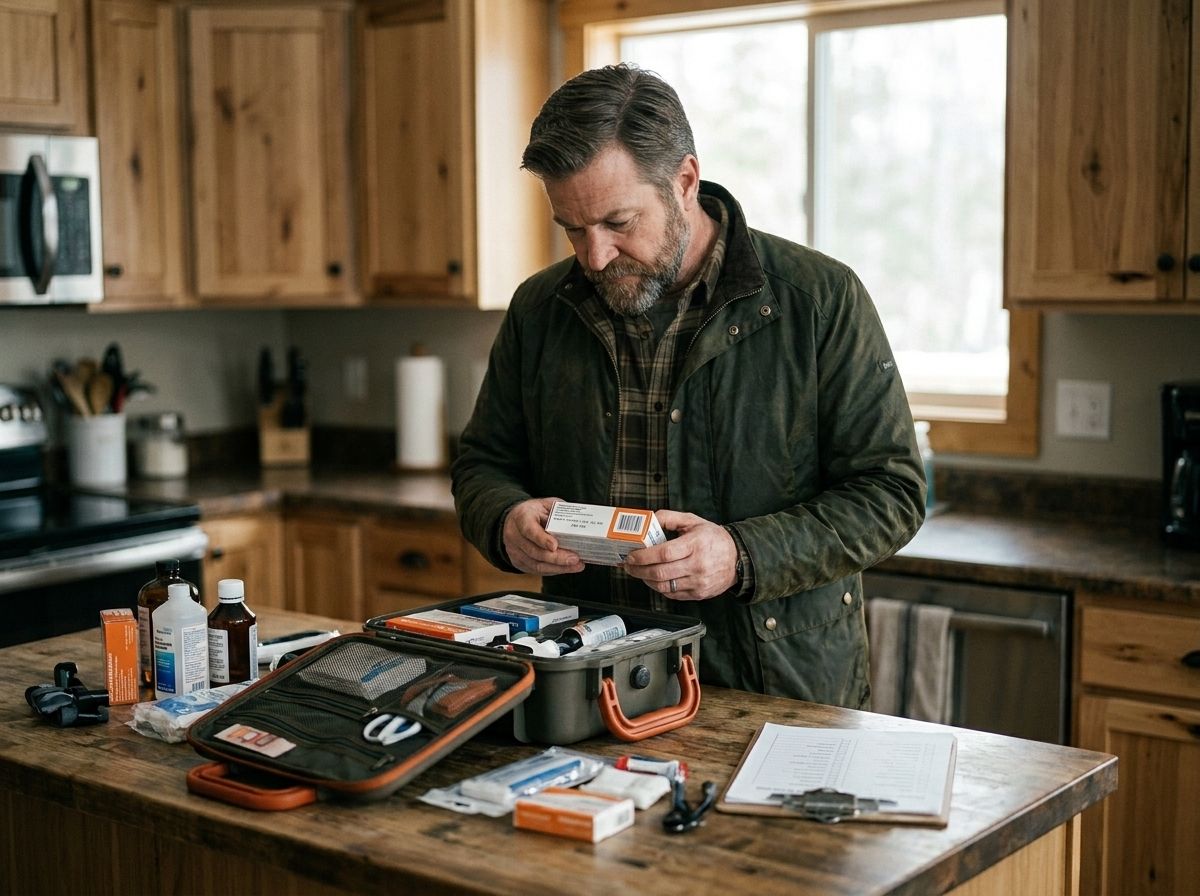
Now do a quick baseline pass. Open the kit. Pull everything out onto the counter. Check expiration dates on anything that has them. Count quantities you can count fast. Then put items back in a consistent order.
You are not trying to be perfect today. You are building a starting inventory you can audit on schedule.
Build your first aid inventory in a format you can scan
Your inventory only helps if it is readable at 7:43 a.m. when you are rushing and one hand is on the coffee. Keep it simple enough to scan in under a minute.
Use a one-page template. Paper works. A notes app works. A spreadsheet works. The format matters less than the fields you track.
Include these columns or bullet fields:
- Item name (plain words)
- Quantity (what you have right now)
- Expiration dates (the date printed on the package)
- Location inside the kit (example: "top pouch" or "meds pocket")
- Replenishment trigger (example: "replace when below 50 bandages")
For expiration dates, write them in a way you can act on. Use the month and year if the package prints a full date. "Ibuprofen 200mg, exp 09/2027." If you have multiple lots, record the earliest expiration date. That is the one that will fail first.
When you record items, use common names. People search for "antibiotic ointment" faster than "topical antibacterial." You are not writing a pharmacy label. You are building a first aid inventory for you.
A practical example from a real routine: my friend Sam Wills keeps a small kitchen kit in a shallow plastic bin. When he audits, he checks only three zones - bandages and gauze in the left compartment, meds in a zip pouch, and tools in the right compartment. That structure keeps the audit short and makes replenishment straightforward, because he knows exactly where everything lives.
So when you build your kit, place items where your inventory says they are. If your inventory says "meds pocket," the meds belong in a pocket. Mix things up and you will waste time hunting later.
Keep one "unknowns" pocket in the kit. If you find an item with no label or no expiration date, drop it there while you figure it out. Unknowns slow audits and create surprises when you need something fast.
Track expiration dates like a prepper, not like a hobbyist
Expiration dates are where first aid kits quietly fail. Bandages usually last, but medications and sterile items can lose effectiveness or sterility over time. That is why your first aid inventory needs expiration dates written down and checked on a schedule.
A common problem: people check expiration dates once, then never again. The date passes, the kit sits, and the first time you open it you see expired labels. You feel that punch of annoyance, then you have to decide whether to trust it.
Instead, set an expiration window. Decide what "due soon" means for you.
Here is a simple system that works for most households:
- Audit every 3 months
- Replace time-based items that are within 3 months of their expiration date
- Replace medications that are expired immediately, no debates
You can justify the audit cadence with plain logic. Most medication packaging and sterile products include clear expiration dates. If you check quarterly, you catch "within 3 months" items before they become "already expired." That is the whole point.
If you want a research anchor, the US FDA explains that expiration dates are assigned based on stability testing and that manufacturers do not recommend using products after their expiration dates. Not paranoia. Safety and performance.
Now, how do you actually record expiration dates so they drive replenishment?
Use "earliest expiration wins." If you have two bottles of the same medication, one expiring in May and one in September, record May as the expiration date for that inventory line. When you replace, you replace the line, then update the earliest date.
Also, note opened items separately. Some items carry a "discard after opening" guideline. If your kit includes certain ointments or creams, record the date opened. A quick sticky label on the container works fine.
One more thing that saves time: do not write expiration dates on every single bandage box. If it has no expiration date, it does not need one in your inventory. Put it in the "tools and long-lasting supplies" category.
Make replenishment automatic with simple triggers
Your first aid inventory should tell you what to buy before you need to buy it. That means replenishment triggers that match how you actually live.
Instead of "we will remember," use thresholds. Not complicated. Just rules that prevent the kit from slowly draining.
Pick triggers that fit your kit size.
Examples that make replenishment real:
- After any use, restock to a target number (example: "bandages back to 30")
- If you replace only one item at a time, set triggers for the most common items (example: "antibiotic ointment below 1 tube")
- If you do not want to count everything, count only the items that run out fastest (bandages, gauze, gloves)
Now tie those triggers to your audit schedule.
During your 10-minute audit, you check only two things per line item:
- Is it expired or within your "due soon" window?
- Is the quantity under your replenishment trigger?
Do that consistently and you will not get stuck running a full medical inventory every time. You just fix what broke.
Here is a concrete scenario that happens in real garages: you are in Austin, a wrench slips, and you cut your thumb. You clean it, reach for the car first aid kit, and bandage up. You do not want to think about it again, so you check your inventory line for "adhesive bandages" and "antiseptic wipes" right there, then add replacements to a running shopping list. The next week, you refill to target numbers. That is replenishment. Not "we should buy more."
Another scenario: a kid scrapes their knee on the Phoenix sidewalk outside your place. You use the kit, then notice the gloves are gone. Your inventory trigger says gloves below 1 pair means reorder. You order the same day because you already saw the trigger hit.
That is how you avoid the slow drift into an empty kit.
Run the 10-minute audit like a checklist, not a project
Now you need the audit itself. This is where organization pays off. You want a repeatable flow that takes 10 minutes, not 45.
Set a timer. Yes, a timer. (This feels silly the first time. It will not feel silly the second time.)
Your audit should follow a consistent order so you do not skip steps:
1) Open the kit and compare contents to your inventory page
2) Check expiration dates on time-based items
3) Count only what matters for triggers
4) Confirm locations inside the kit match your inventory (no mystery pockets)
5) Write replenishment items onto a shopping list
When you compare contents to the inventory page, go line by line. If an item is missing, you do not try to "figure out where it went." You mark it missing and replace it.
During expiration checks, look for the earliest date first. If you record earliest expiration per line, you can make this step fast.
If you do not have time to count every bandage packet, that is fine. Your triggers tell you what to count. Count sterile wipes and gloves, those are the items that disappear during real use.
One more time-saver: keep your inventory sheet inside the kit in a small waterproof sleeve. Your audit does not require hunting for a spreadsheet.
If you prefer digital, stick a QR code on the kit and scan it to open your inventory. Same fields, different location.
With Mainstay's adaptive learning system, you can link your audit schedule to your replenishment notes so you are not reinventing the process every season. You are just executing the same steps.
And here is the part people skip: after the audit, refill the kit right away if you can. If you cannot, write down what to buy and set a reminder to refill before the next audit. Simple.
Make your kit audit-ready for the messy moments
Life is not tidy. Your first aid inventory should survive the messy moments.
That means organizing for interruptions. Someone needs help right now, you use the kit fast, and you do not have time to re-sort everything after.
Build the kit with "reset" in mind.
Use zones:
- Bandage zone (most common, quick to access)
- Meds zone (time-based items, separate from bandages)
- Tool zone (scissors, tweezers, thermometer)
- Gloves and cleaning zone (sterile wipes, gloves)
Label the zones. A strip of tape with a single word is enough.
When you reset after use, items go back into the correct zone. Your inventory page already assumes that layout.
This is where people get tripped up: they buy supplies, toss them into the kit, and never update the inventory. The kit becomes a mystery box. Audits take longer, and the whole system collapses.
So update your inventory right after replenishing. Do not wait for next quarter. A quick update takes less time than a long audit.
Also, keep an "audit spare" stash. Store a small backup of the most common consumables outside the kit - a spare roll of gauze, a pack of gloves, a small box of adhesive bandages. When you replenish, you move items from the stash into the kit and update the inventory. That cuts refill time and keeps the kit stocked between shopping trips.
If you live with pets or have kids who collect scrapes, tailor your inventory lines to match your household's actual use rate. You still track expiration dates for time-based items. You just set triggers based on what actually runs out.
FAQ
How often should I audit my first aid inventory?
Most households audit every 3 months. That cadence catches expiration dates before they become a problem and keeps replenishment from turning into a surprise. If you use your kit often, audit after events that consume supplies, then do the scheduled audit as well.
What should I track in a first aid kit inventory?
Track what you can count and what has expiration dates. Include item names, quantities, expiration dates for time-based items, and a replenishment trigger. Tools and long-lasting supplies can be listed without expiration dates if they do not have them.
How do I handle expiration dates when I have multiple bottles?
Record the earliest expiration date for that inventory line. That way, your "due soon" window catches the item that will fail first. When you replace, update the line with the new earliest expiration date.
Do I need to replace bandages and gauze based on expiration dates?
Many bandages and gauze are not time-based in the same way medications are, but sterile packaging can have expiration dates. If the package prints an expiration date, treat it like a time-based item and replace it within your due-soon window.
What is the fastest way to do replenishment after I use the kit?
Use your inventory triggers. When you open the kit and use items, check the line items you consumed and add replacements to a shopping list immediately. Refill to your target quantities at your next shopping trip so the kit stays ready.
Next step: build your inventory page tonight
Tonight, pick one first aid kit and write your inventory page for it. Record item names, quantities, and expiration dates for anything time-based. Set replenishment triggers for the items you actually run out of.
Then do one 10-minute audit with a timer. If you can scan the kit and update the inventory without unpacking everything, you built the system you will rely on when emergency health shows up.
Want this handled automatically? See the Mainstay membership.
Subscribe to comment
Join the Mainstay newsletter to leave a comment — and get new field notes in your inbox.
Get new field notes in your inbox
Practical, calm preparedness — one useful note at a time.